Subscribe with us Online

Subscribe with us eTeachingMe A full online Curriculum for parents, and anyone like, who have babies, toddlers, and preschoolers. Where we "make time meaningful again" at home or anywhere, easily! www.eteachingme.com
Showing posts with label preschool. Show all posts

Thursday, April 21, 2016

Food and Learning?

Food and Learning?

by Kristin Miller on 04/18/16
Yes - we love learning with food.  I mean, come on, how many times growing up were you allowed to paint with your yogurt???  Super fun!

From painting with our applesauce and ketchup, to smearing our yogurt, coloring on tortillas, learning the colors with our fruit loops cereal, scooping up rice, and making letters with our cheese and crackers.  There are endless opportunities to learn using food.  It is so practical and easy; and the best thing, the kids LOVE it (because they get to eat their "homework" - literally!)

5 Foods to Easily Learn with at Any Home:
1. Tortilla or Bread - Have your child build their fine-motor skills to tear the pieces apart.  Then, color on them!

2.  Thick Liquids or Foods as Sauce (Ketchup, Yogurt, Applesauce, Mustard, Jelly, ect) - Just for some messy fun, let your child finger-paint (or use a paintbrush) to smear these fun sauces around on thick white paper!


3. Foods you can Cook (spaghetti noodles, rice, ect.) - After they have cooled off, throw some noodles in a bucket (or rice).  Give your child a cup, fork, and a spoon to stir.  Creative imagination and pretend play will be sure to keep your child busy as they make some spaghetti or rice for you!


4. Snack Time Foods - Like crackers and cubed cheese - Use these to teach tons of learning skills, like letters, numbers, counting, and making shapes.  Check out our other blog post specifically for ideas HERE.  

5. Breakfast Time Foods - Using a variety of cereals to teach learning concepts, such as colors, counting, making letters, and using to build fine-motor skills and literacy awareness!
- See more at: http://www.eteachingme.com/Mom-Blog.html?entry=food-and-learning#sthash.yvSzqBTg.dpuf

Tuesday, March 25, 2014

Learning with Home-Made Tools

Teachers, parents, and nannies .... teaching your child is easy and interactive with this "outside of the box" thoughtful idea!  You can vary it in many different unique ways, for any age, to teach multiple concepts, anywhere at anytime!

Watch our Videos for an interactive experience of HOW-TO TEACH this Lesson Plan 

Video 1

Video 2

Lesson Plan:  Learning Literacy using Home-Made Tools

Age Range - 1 to 5 years old
Cognitive Learning Focus Areas:  Literacy, Math, Language development, Early reading readiness, Fine-motor skills, Hand-eye coordination
Author:  Kristin Miller, M. Ed. Founder www.eteachingme.com 

Materials needed:
Paper towel roll
Black magic marker
Long white art paper (or poster board) cut into strips (about 1 1/2 feet long and 1 inch wide)

What to do:
1. PARENTS ONLY - Pre-Create the "Language Tool" before teaching lesson to child.   Using a knife (to start the square holes) and then scissors, cut 4 squares out on one side of a paper towel roll.
2. Cut long strips of paper (about 1 1/2 feet in length and 1 inch wide) out.  Multiple strips desired for however many learning concepts you wish to teach.
2. Create "language strips" by writing different teaching concepts on each strip.  See ideas below for what to create and teach child.
3. Line up the strips of paper, following the same length apart as the 4 square holes on the paper towel roll, and write whatever concept you want your child to learn in that same spot.  Do so in a way that when the child pulls the paper through to "read" what's inside each hole, they can see what is written through the holes easily, so that it all measures up accurately.  See pictures as an example.
4. Sit with your child and learn together; using different "language strips" to teach specific concepts.
5. Let your child put the "language strips" in the paper towel roll, and "learn freely" to teach you what they may see in the holes, or you help guide child to teach the concepts.

Ideas for "Language Strips":
* Alphabet letters to build words
* Numbers
* Shapes
* Sentence - story telling pictures and/or words combine
* Sequence of event pictures
* Child's letters in their name
* Emotion pictures
* Colors
* Counting amounts (# of dots for children to count)


Wednesday, November 6, 2013

TRACING? 10 Creative Ways to Teach...

Tracing is a beginning skill that kids need to and can learn around age 2 to help with early writing and fine-motor development.  Below are some helpful activity ideas to help you teach tracing skills to your toddler and preschooler.  The KEY when teaching tracing - to make it easy on their eyes and make it engaging so they WANT to do it!  All 10 of these activities below will help you do just that .... AND the best part, they are all AFFORDABLE and EASY to prepare!

1. USE A HIGHLIGHTER TO TEACH TRACING - Using a highlighter shows children "one continuous line" - therefore, makes it easier for them to follow along and less stimulating as those "dotted tracing letters workbooks".  When you ask them to "trace" - Say a simple phrase they would understand, such as, "can you follow along the yellow lines with your marker?"  Always show and model for them what it is you want them to do, before expecting a child to do it on their own (for the first time).


2. USE CLEAR TAPE TO TEACH TRACING - Have your child use their finger or a marker to follow along the clear tape on a colored sheet of paper (for easy viewing).


3. USE PLASTIC COOKIE CUTTERS TO TEACH TRACING - Have your child use their finger to follow the outline of the cookie cutter.  Then, have them put the cookie cutter down on white paper, and use a marker to trace its outline.


4. USE GLUE TO TEACH TRACING  - Help your child use liquid glue to trace the outlines of letters, lines, or shapes on a sheet of paper.


5. USE PAINT TO TEACH TRACING LINES - Have your child use a paint brush and paint to trace lines, or letters, you have drawn out on a sheet of white paper using a highlighter, as shown below.


6. USE PAPERCLIPS TO TEACH TRACING - Have your child use a pen and paperclips to trace their outlines.


7. USE YOUR CHILD'S HAND TO TEACH TRACING - Have your child trace the outline of their hands, feet, or your hands on a sheet of white paper or the sidewalk with chalk.


8. USE CHALK TO TEACH TRACING - Write your child's name with a piece of white sidewalk chalk outside, have them use colored chalk to trace over it!  You can also substitute by having them use a paintbrush with water to trace over the letters written in chalk, as a form of "erasing it!"  FUN!


9. USE HOMEMADE PATTERN SHEETS TO TEACH TRACING - Create some fun, different pattern sheets (have them laminated at the local Office Depot) and give your child a dry erase marker.  Have them "trace" or follow the patterns on the sheets, like shown in the picture below!


10. USE POPSICLE STICKS TO TRACE PLAY DOUGH LETTERS - Create letters in play dough, then have your child use Popsicle sticks to stick in the play dough following the letters outlines.  View in picture below!

Monday, July 8, 2013

10 Ways to use Play Dough for Learning

Ever wonder how you can use play dough to learn with your child? Here is a list of verbs to use when teaching your infant, toddler, or preschooler.  Below this list are 10 FUN and EASY ways to use play dough as a learning tool, as well!  Enjoy...and we love sharing ideas, if you have an interesting way to use play dough for learning with your child, please tell us in a comment below!

10 Ways to use Play Dough as a Learning Tool:


1. Use it to make big and small balls, teaching the concept of size.

2. Make creatures out of it and have your child (or you for an infant) use describing words to explain what you created, why, and its characteristics such as color, size, and features!
3. Use play dough to make shapes!

4. Use play dough to make letters!


5. Use play dough to spell out your child's name and teach them the letters in it!

6. Use play dough to teach colors.

7. Use play dough to teach sorting skills.
8. Use a ball and play dough to flatten out, building hand-eye coordination and motor skills.

9. Use play dough to practice tracing letters!


10.  Allow child to free-play with play dough; play is how learning occurs!


Monday, April 22, 2013

Spring Experiment - Will it grow?


SPRING DAY ACTIVITY EXPERIMENT

For Tots - 2 years - and Up!
 

Question to ask child:  What do you think will grow and sprout???

 
Length of time for experiment: 10 minutes to prepare; observe and water daily for 1 week
 
Scientific Method Steps (simplified!)
Prediction: Which of the 4 items do you think will grow?
Hypothesis: Have your child guess, or tell you, what they think will happen.
Conclusion: After doing experiment, observe the "plants" with your child daily to find out and record what happens.  Complete experiment observation to conclude findings after 1 week.
  

Materials Needed:


cups
soil
water
lima beans
blue berries
pretzels
potato half (cut end)
 
** All materials listed above are optional for you to use depending on what you have at home handy.  Try to limit the experiment items to 2 that grow (i.e.  lima bean and potato half end) and 2 that wont grow (i.e.  blue berry and pretzels).


What to do:

1. Put all four items on plate, explain what they are to or child first.
2. Put soil in 3 cups.
3. Have child help add in each item per its own cup, pressing into soil just a little bit, but just enough to cover item so it is unseen under the soil.
4. For the potato half, fill cup half with water, put potato end cut-side down in water so the top half is sticking out of water.
5. Label all cups and draw picture for child to remember.
6. Have child water them each.
7. Put on porch outside, safe from wind and rain but where they can still get sunlight.
8. Go over them each with child again; naming them.
9. Ask child: What do you think will grow and sprout?
10. Tell child: We will check on them and water them every day for 1 full week.  Do just that and watch with your child to see what happens!
11. Remember:  Teach the Scientific Concept (Predict, Hypothesis, Conclude and Find) with your child early on!
12. Don't forget to teach what 3 things all plants need to grow:  Sun, Air, Water
 

**You can even make a visual drawing/graph with child to chart findings and the steps of the experiment and growth processes of each item.  Refer back to the chart each day as you observe  the "plants" (items planted) and have child record on their chart what they may see or not see happening with them each.


Wednesday, April 17, 2013

How does your child grasp???


Stages of Pencil Grasp

By: Kristin Miller, M. Ed. in Curriculum and Instruction

CEO/Founder eTeachingMe

First we need to understand that at every stage, every child is different and will develop at a variety of rates.  It is important to continue to work with your child at each stage of pencil grasp development, do not worry if they meet the "common grasp stage" or not; consistency is key to helping any child learn and grow!  Please enjoy reading, and keep up the hard work parents, as your child develops at their own pace, and own unique capabilities!

1.  READ:  Fine and Gross Motor Development Chart so you can have a clear understanding of expectations for your child's age.

 2.  Please view the Development Stages of Pencil Grasp chart below.  This gives you a basic understanding of what to work on and expect out of your child at each developmental stage.

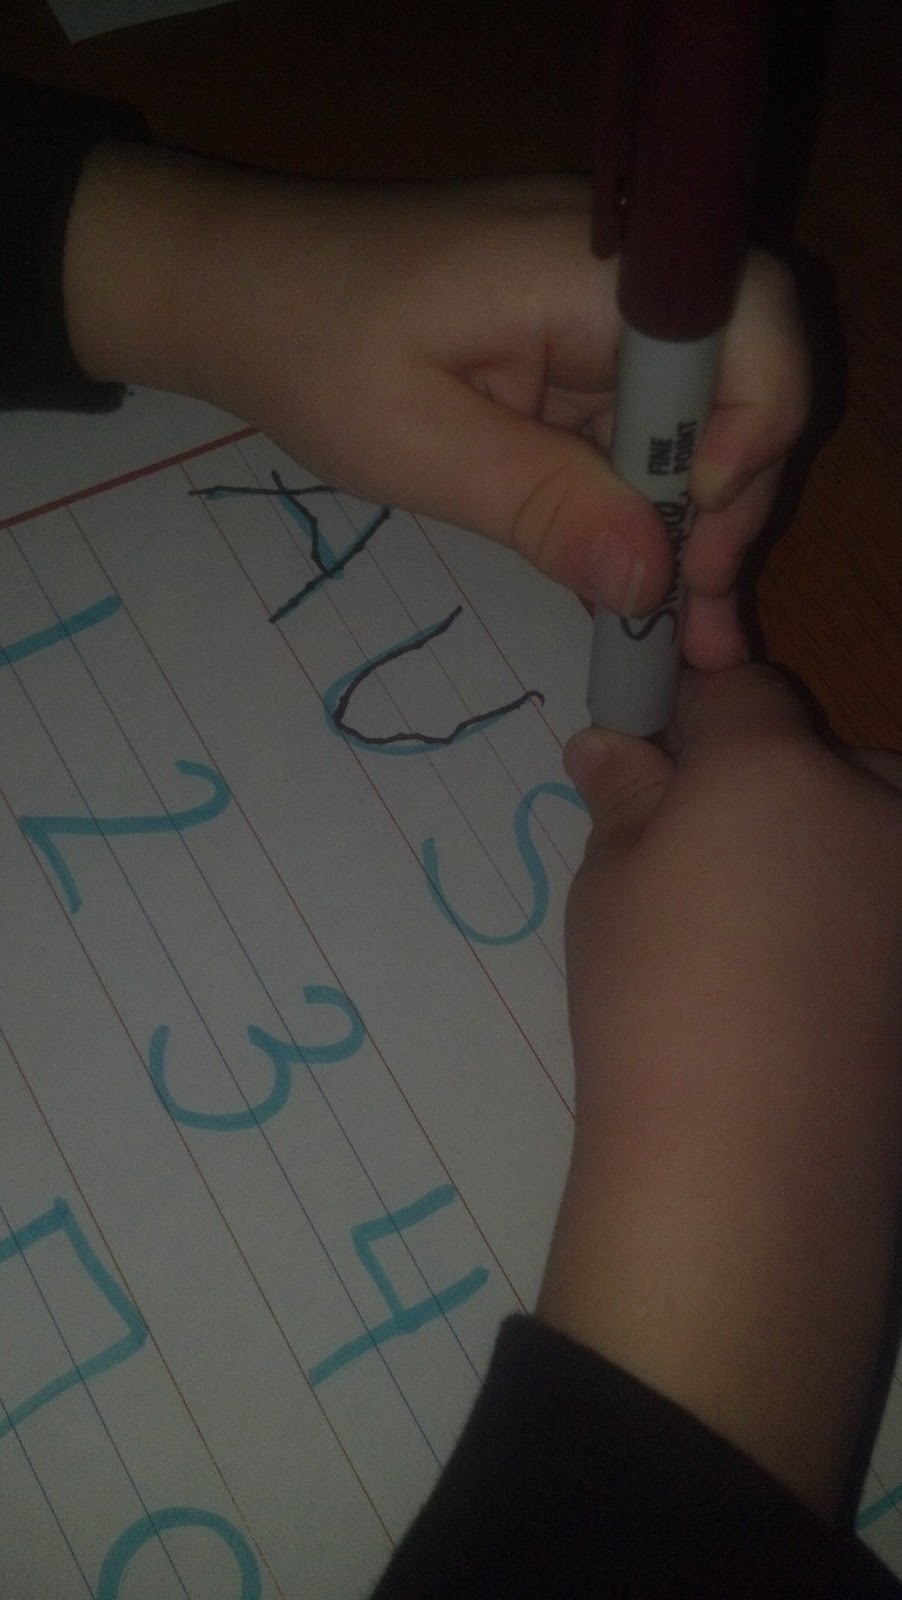
 3. View the picture examples of my children below, you can see what is normal and relate it to the basic understanding of where your child is at in their pencil grasp development.  This helps you to see first hand, what to expect.  

Pre-Toddler Stage
Infant - Fisted Grasp
1 years old
 
Pre-Toddler Stage
Full Fisted Grasp
2 years old

Toddler Stage
Palmer Grasp
Grasps with hand and moves with elbow
2 1/2 years

Immature 5-Finger Grasp
Preschool Stage
3 years old


Pre-Kindergarten Stage
Mature 3-Finger Grasp
Starting to use and develop
3 1/2 years old